We currently have two 2x4 C&C cages with a pair of females in each. We got Cookie from a pet store, and a few days later we went back and got Cocoa from the same store. We switched from the store-bought cage to a 2x3 C&C once we learned a thing or two about guinea pig requirements. We rescued Brownie a few weeks later and expanded to 2x5. All was well and good, with Cookie being the dominant.
A few weeks after that, we adopted Peach from a breader and expanded the cage to 2x6 C&C to comfortably accomodate all four piggies. We had four water bottles, four food bowls, and a mix of toys, hideys, and beds. Unfortunately, Cookie and Brownie would team up against Peach. We let this go on thinking it was just initial behaviour and that this did not occur with Brownie as she was bigger yet submissive.
After two weeks or so, we discovered bite marks on Peach and separated them into two groups. Cookie and Cocoa were separated, as Cocoa was the only one who was not mean to Peach. So Cookie and Brownie are now in one 2x4 C&C, and Peach and Cocoa are in another 2x4 C&C.
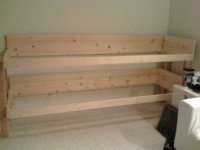
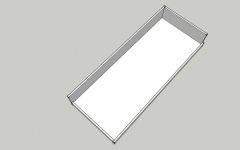
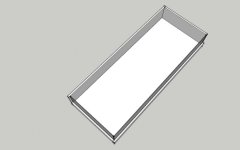
Because of the size of the cages, I would like to make a two story 2.5ft wide by 4ft cage with plexiglass on the front so we can see them, as well as a (1ft-2ft tall) storage space underneath. I'd also like to have an easy way to clean it, such as a shelf between at the bottom of each level that slides out to dispose of the mess.
The main goal of this is to get them out of the room they have been placed in because of how much space they take up. I live in a small apartment complex and they currently take up about 1/3 of a room in a split 4x4 C&C cage. The main interaction they get is when they are fed and when they are given floor time during cage cleaning. It doesn't feel like it is enough but there is not a lot of room in their room to play with them, and they're quite messy everywhere else. This new cage would let us put them in another room more frequented.
My main questions are:
Does anyone have any plans similar to this that I could modify to fit my needs?
What materials are safe to use in the cage?
Can the wood be stained or painted?
What would make a good liner to use in the new cage? (Currently using three towels overlapping as a liner)
What is the best place to get guinea pig safe wood?
Should I use caulk to seal the edges after screwing the pieces together?

